Sunday, June 12, 2011

Upstairs

In case you haven't read my entire blog from the beginning, the reason we did this crazy renovation was because we wanted our main living space to be on the ground floor, and we wanted five bedrooms upstairs. That meant we planned to flip our layout, moving our kitchen, living room and dining room from upstairs to down.

Hence, the clever name of my blog - the Upside Down Home. Get it?

The upstairs kitchen would become the fourth bedroom, the dining room would become the fifth bedroom, the living room would become a family room.

You can read about the strange phenomenon that is the BC Basement Entry here.

As I am writing these posts I'm realizing what a bad blogger I am - I have terrible before shots. As in, no before shots.  You're going to have to make do with random family pictures that show a little of the room behind. And a lot of my in-progress pictures were taken on my iPhone - I'm warning you now.

Here is the upstairs living room. Post reno it will be the kids' hang-out room where they can numb their minds on video games and Nickelodeon. You can see the railing for the staircase behind the couch on the right - post reno the stairs will come up at the far right of the picture where that lamp is.


Here's the old kitchen in all its former glory:

Framing & Demo

Once the foundation was done, we moved into the framing phase.  It went pretty quickly and it was exciting to see our plans come to life. I had walked through these rooms in my head for the past year - really walking through them was a bit surreal.

Looking from foyer through the kids desk area and beyond to the dining room
The trusses were delivered and went up very quickly:

... at the same time the old, upstairs kitchen was demolished and the super sexy orange oak cabinets were taken away to my plumber's workshop.
The old kitchen would eventually become my oldest son's bedroom.

The stairs were removed and the new staircase was 180'd. The new stairs stayed in the same location/corridor as the old ones, but they were rebuilt in the opposite direction. This picture was taken from what was the top of the landing of the old staircase.
Excuse the blurry iPhone photos.

Well, it's done but you're not going to see it just yet

First of all, I should say that the reno process was arduous, long, and frustrating.  I had the best of intentions to blog these amazing posts throughout my reno, a la DIY Diva, but truthfully I began to loathe the process so much that the last thing I wanted to do was blog about it.

I know, I'm a sissy.

Anyway, now it's June and we've been back in the house for four weeks now and I'm finally emotionally ready to blog about what was, without a doubt, one of the most stressful periods of my life.  I wonder if it had anything to do with the fact we went massively over budget and bought a restaurant at the same time as we were renovating? Or maybe it was the fact that we were trying to do it while not sucking as parents to our four kids? You know you're renovating when you feed your kids at the Subway at the front of Home Depot three times in one week.

So, stay tuned for a retrospective of sorts as I get you up to speed so that I can post some {long overdue} reveals.

Wednesday, March 16, 2011

And then the wind and hail came ...

... and down came the tarp that had been rigged to protect the slab.  Which freaked me out when I found out, but turned out not to be a problem at all.  I wasn't home when it happened, but my two oldest gamely went outside and tried to fix it - by themselves.
When I got home, we took the posts down and used the wood to secure the tarp.

Tuesday, March 15, 2011

Foundation Pour

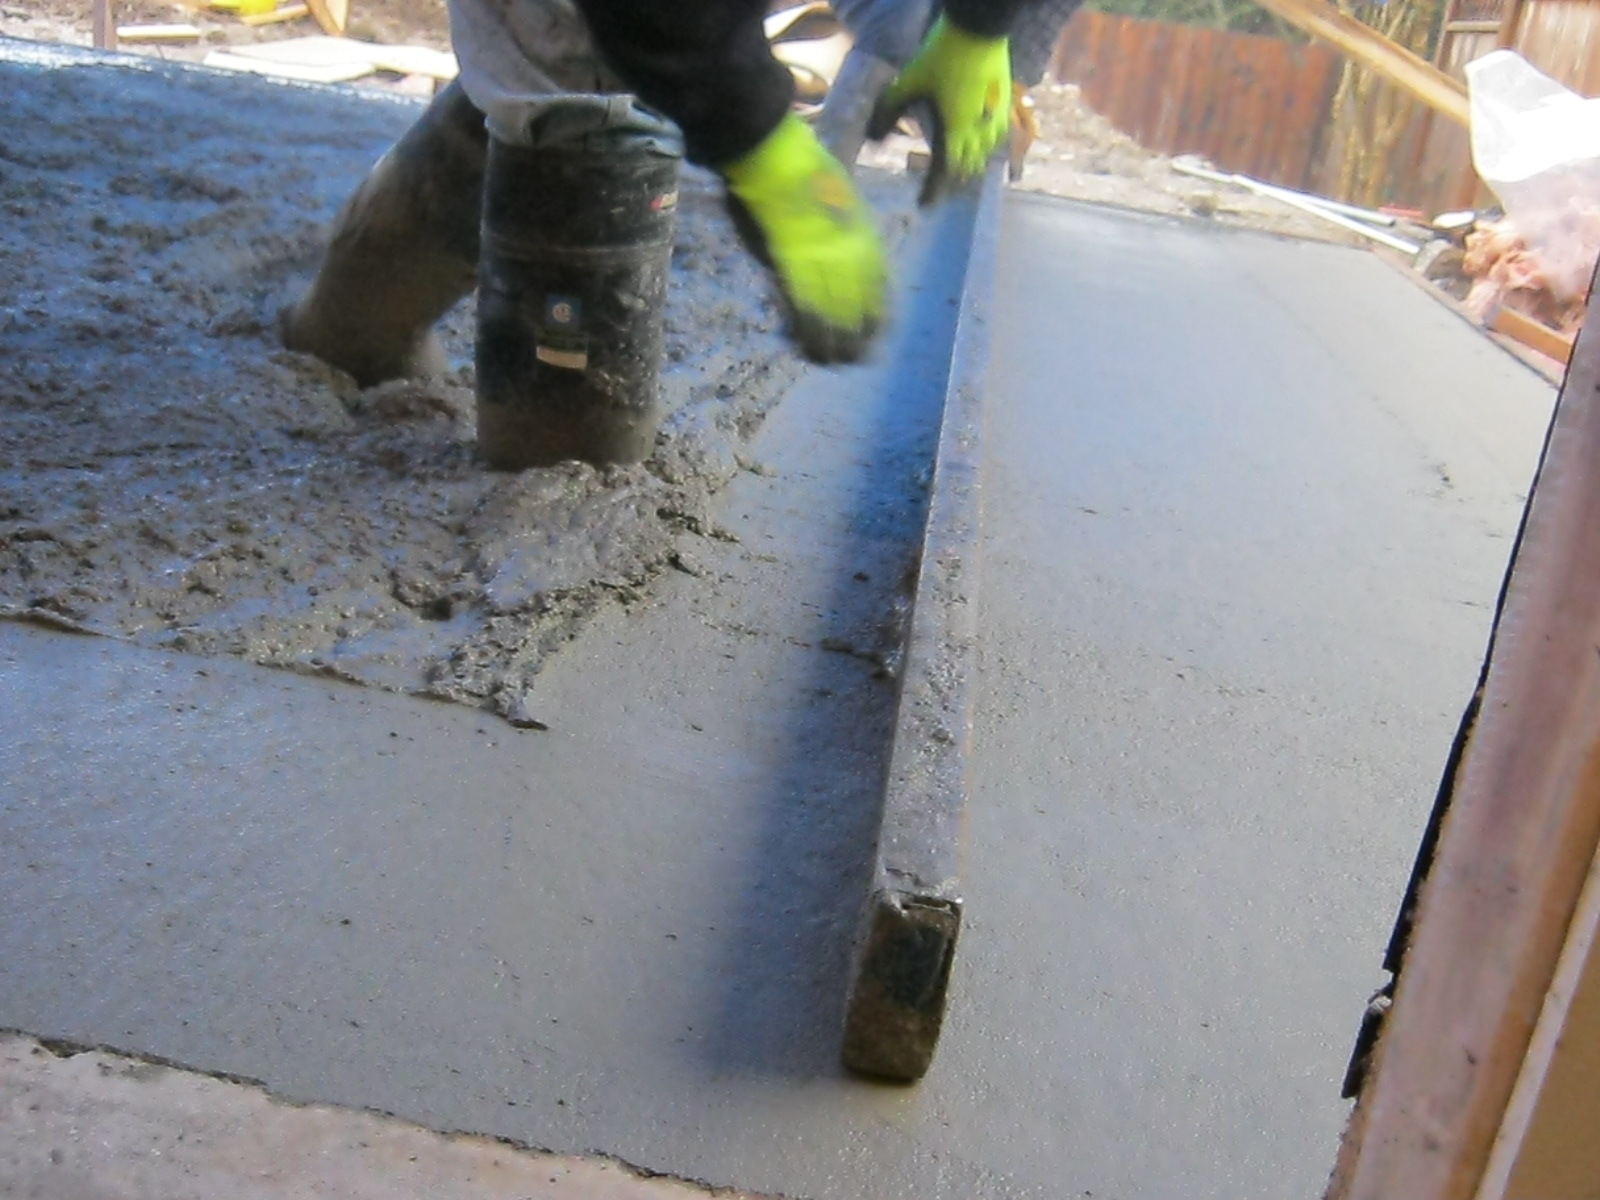
In January, we finally got to the stage where we could pour the slab.  We live on the Westcoast which necessitated erecting a large tarp over the slab to protect it from the incessant rain.
 
It was exciting to make progress ... finally.  By this point, we were already four months into it.  I'm not the most patient person so it was good to be able to get on with it.


Pouring Footings

Once the forms were built, the race was on to get the footings poured before a) the snow came and b) our contractor went to Australia for three weeks.

We didn't beat the snow and there were times when it looked like we wouldn't make the deadline before Joe left for sunnier climes, but it all came together in the end.

After the footings are poured, that rebar will get bent over into the middle of the slab, and more concrete will be poured into the middle where my husband is standing in the picture above.

This was the very end of November, and then pretty much nothing happened until January...

Sunday, March 13, 2011

The Land Bridge

We decided to do it.  We weighed our options and realized that it was worth it to us to go ahead with our plans, even if it meant added cost.  We figured that we were still way ahead of where we would be if we built new or moved to another house (that is, if we could find one that would offer everything this one would when it was done).


In the end it meant drilling six micro-piles. Our engineer came up with an elaborate plan.  Some would say (and have said) he went overboard but I guess better safe than sorry? 


Our contractor Joe said that the only time he has ever seen so much steel go into a structure was when he built a bridge.

.


It delayed us by about six weeks and blew our entire contingency fund right out of the gate, but we kept telling ourselves that it would be worth it in the end.


As we aren't actually at the end yet, time will tell if that's the case.

But I'm keeping my fingers crossed.